
Are you tired of manually proofreading the content in your MySQL database? Now, you can use Perfect Tense to automatically find and fix spelling and grammar errors in your tables. This is perfect for proofreading articles, product descriptions, or any other content in bulk. Specifically, Perfect Tense will automatically correct spelling and grammar errors in any new row added to your MySQL database.
Here’s how to set up the MySQL-Perfect Tense integration:
1. Make sure your Perfect Tense and Zapier accounts are set up (both are free to try).
2. Follow the template below to have new MySQL rows automatically proofread and corrected.
Tutorial:
Clicking “Use this Zap” will bring you to a page that explains the integration and how the apps will interact. To get started, click “Create this Zap”. The template will guide you through setting up the integration and this tutorial will help you fill in any other pieces.
Step 1:
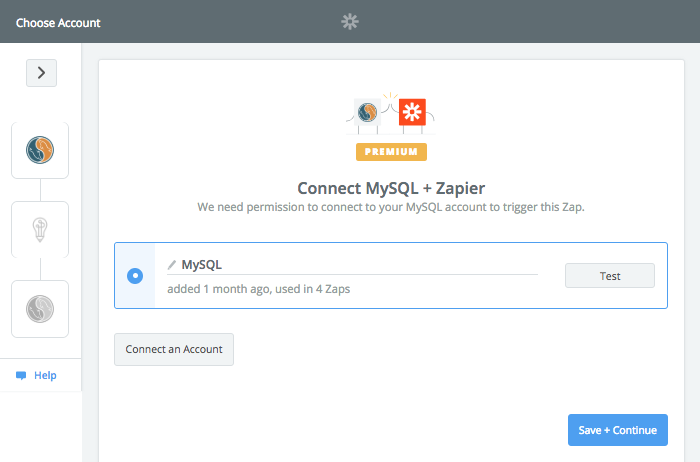
First, you will need to connect your MySQL account to Zapier.
Step 2:
Next, click the dropdown menu to select the table that you would like Perfect Tense to proofread.

Zapier will run a test on a row from the table to make sure everything is connected correctly so far. Once the samples have been pulled, you will be ready for the next step.
Step 3:
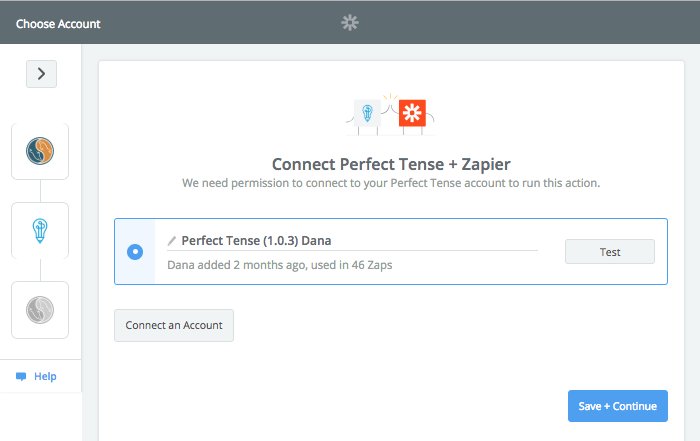
The action step (Correct Text) will already be selected for you; you just need to connect your Perfect Tense account.
Step 4:
Next, you need to choose the rows that you want Perfect Tense to proofread. Click the dropdown menu and select the option with the title of the column you want corrected (you should also see the sample content Zapier pulled earlier).
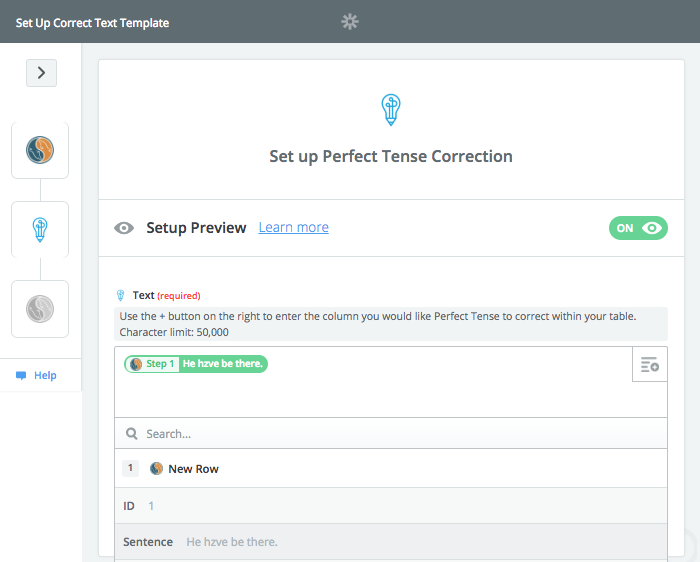
Zapier will run another test to make sure everything is functioning so far. Once Perfect Tense has made a sample correction, you are ready to set up the final step.
Step 5:
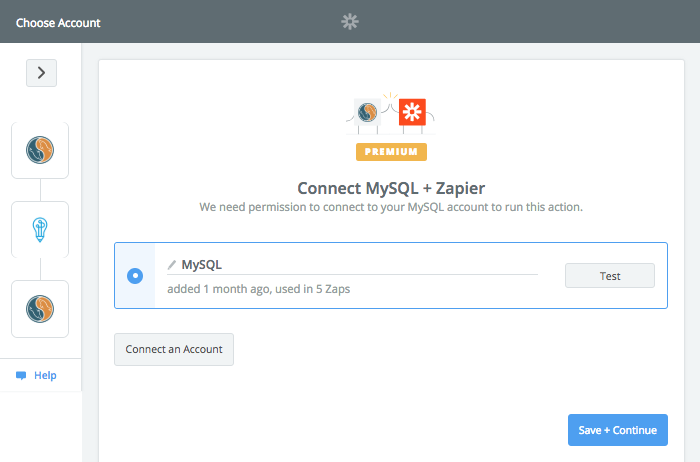
The action step to update the row will already be selected; all you need to do is make sure you connect the same MySQL account.
Step 6:
The final step determines how the rows will be updated. Because MySQL is a more complicated app to integrate, there are a few things to keep in mind:
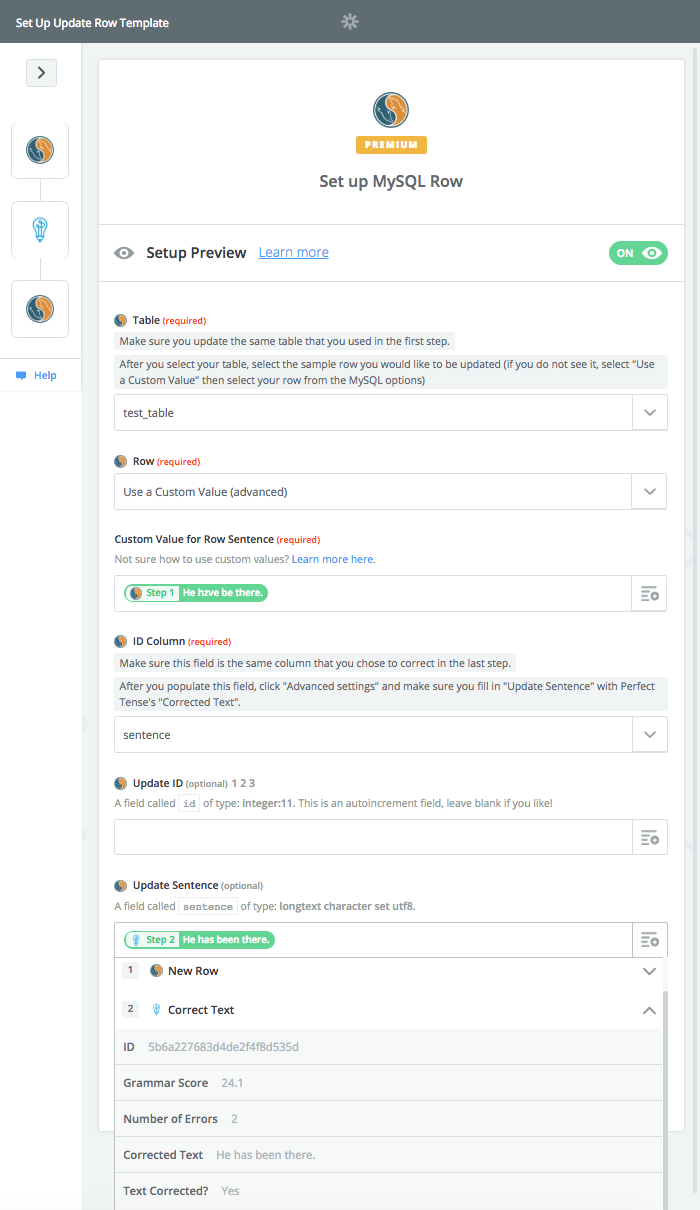
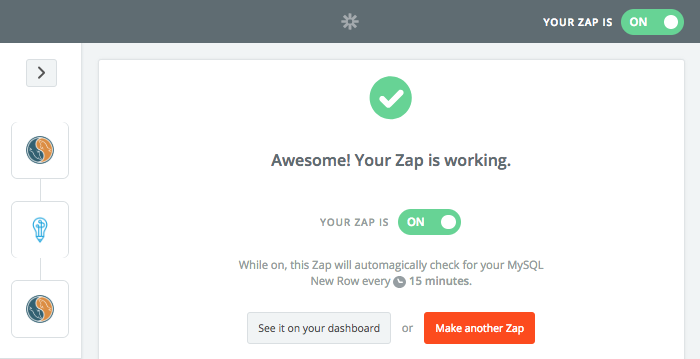
Once you have saved these settings, Zapier will run one last test and your integration should be all set up!
That's how easy it is to prevent yourself from sending a spelling or grammar mistake in your MailChimp campaigns!