PostgreSQL is one of the world’s most advanced databases. You can store anything from product descriptions and reviews to blog posts and full articles. But with that much content, proofreading everything could take days. Instead, you can use Zapier and Perfect Tense to help speed up your proofreading process. Specifically, Perfect Tense will proofread any newly added row and send you notifications in Slack if the content has spelling or grammar errors. This integration works as an editor or as a final grammar safety check before you publish or post any content.
Here’s how to set up the PostgreSQL-Perfect Tense-Slack integration:
1. Make sure you have a Perfect Tense and Zapier account (both are free to try).
2. Zapier makes setting up your automation easy by providing templates, just click the template below to get started and follow this tutorial if you have any questions.
Note: If you have any questions about how to fill out the template fields, follow along with the steps below:
Tutorial:
Clicking on the above template will bring you to a page that explains how the integration will work and what apps are involved. Click “Create this Zap” to get started. Zapier provides templates that pre-map most of the necessary steps to make integrating your apps even easier, this tutorial will fill in the rest.
Step 1:
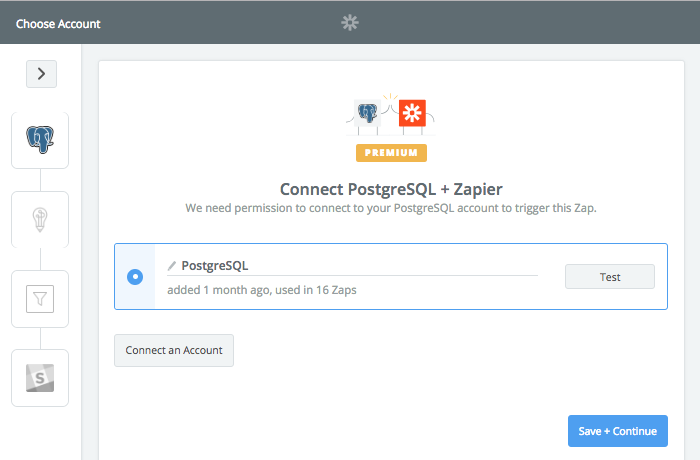
First, you will need to connect your PostgreSQL account to Zapier.
Step 2:
Next, you need to choose the table that you would like Perfect Tense to proofread.
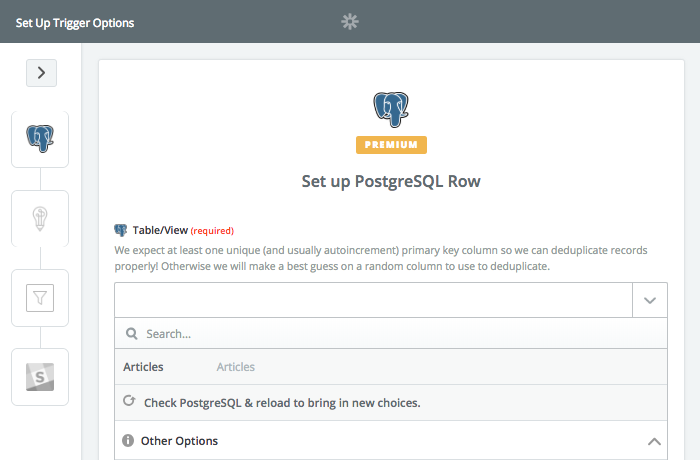
Zapier will then pull in a sample from the table you chose to run a test case. Once the samples have been pulled, you will be ready for the next step.
Step 3:
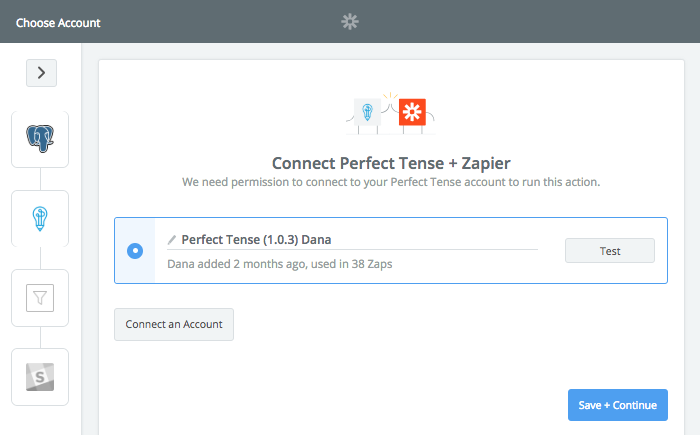
Because you are using a template, the Perfect Tense action will be preselected for you. All you need to do is connect your Perfect Tense account to Zapier.
Step 4:
Once you have connected your Perfect Tense account, you will need to choose the rows that you want Perfect Tense to proofread.

Next, Zapier will send a sample correction to Perfect Tense. Once this test is complete, you are ready to set up the next step.
Step 5:
This step is a filter that you can customize to make sure Zapier only sends you notifications about content that meets certain criteria. Here are a few examples of how you can filter your notifications:

Once your filter is set up, you are ready to set up your final step.
Step 6:
Again, the action step will be pre-selected for you. All you need to do is connect the Slack account where you would like Zapier to send notifications.

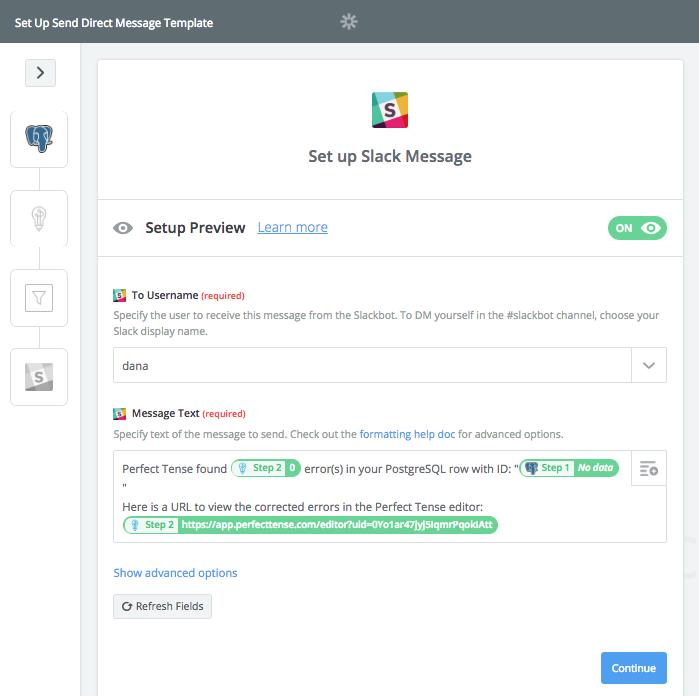
Step 7:
Once you have connected your Slack to Zapier, all you need to do is select the person you want the notifications sent to. All other fields will be pre-filled with information from the other steps.
Once you have saved these settings, your integration should be all set up!
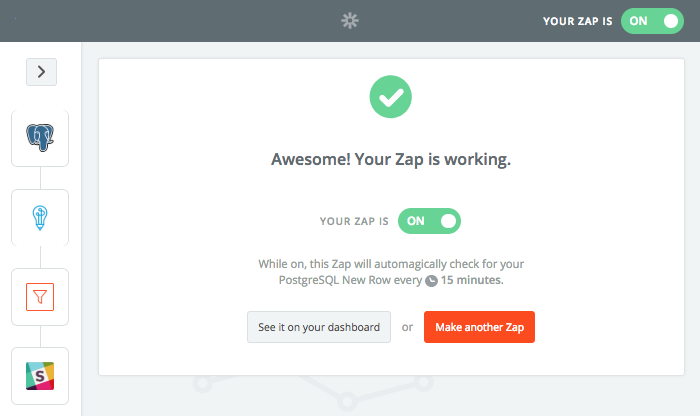
It’s that easy to catch errors in your PostgreSQL tables with Zapier and Perfect Tense!