Google Docs is one of the most widely-used writing platforms largely because it makes collaborating on documents extremely easy. This is great for team efficiency but can make spelling and grammar mistakes easier to miss. While you could go through each document manually to remove errors, you can save time by using a Zapier automation that will correct spelling and grammar mistakes in your posts for you. Specifically, you can use Zapier and Perfect Tense together to have all your Google Drive content automatically proofread and corrected.
In case you didn't know, Zapier is the glue that allows you to connect the apps you use to automate your workflow and Perfect Tense is a spelling and grammar correction tool that can automatically catch mistakes in any content.
Here’s how to set up the Google Docs-Perfect Tense integration:
1. Make sure you have a Perfect Tense and Zapier account (both are free to try).
2. Use the template below to add spelling and grammar correction to your Google Docs and follow this tutorial if you have any questions.
Tutorial:
When you click “Use this Zap”, you will be brought to a page that explains how the integration will work and what apps are involved. To get started, click “Create this Zap”. When you use Zapier templates, each major step (trigger or action) is pre-selected for you, all you need to do is connect your own app accounts and fill in unique information. This tutorial walks you through the dynamic parts of the template.
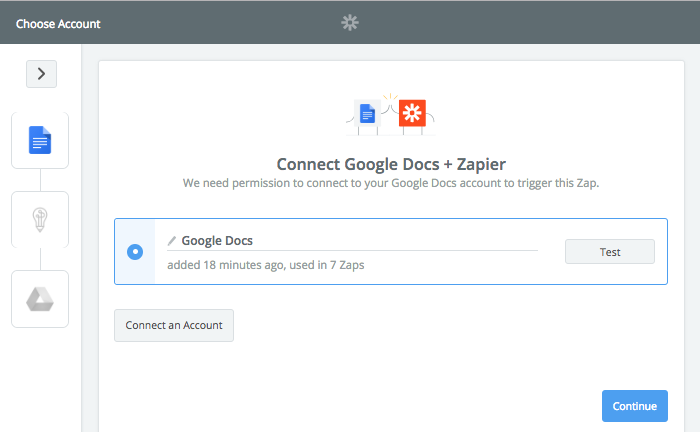
Step 1:
First, you will need to connect your Google Docs account to Zapier.
Step 2:
Next, you will need to select the folder that you would like Perfect Tense to proofread. You will need to click “Show advanced options” in order to select your folder (We recommend creating a folder titled “Proofread” where you can place docs when you are ready for them to be proofread).
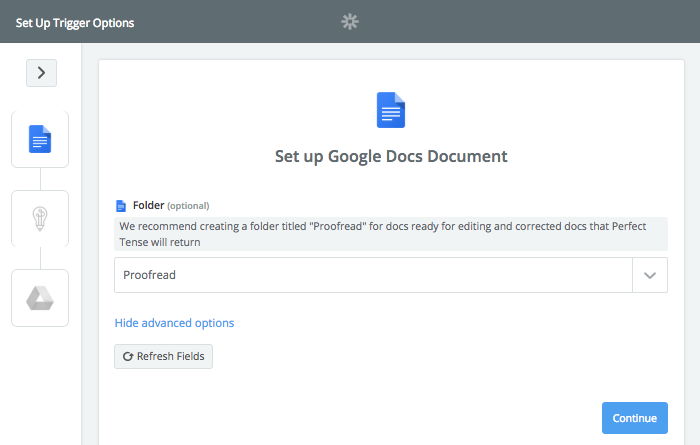
Zapier will then pull in a sample from the folder you chose to create a test case to run. Once the samples have been pulled, you will be ready for the next step.
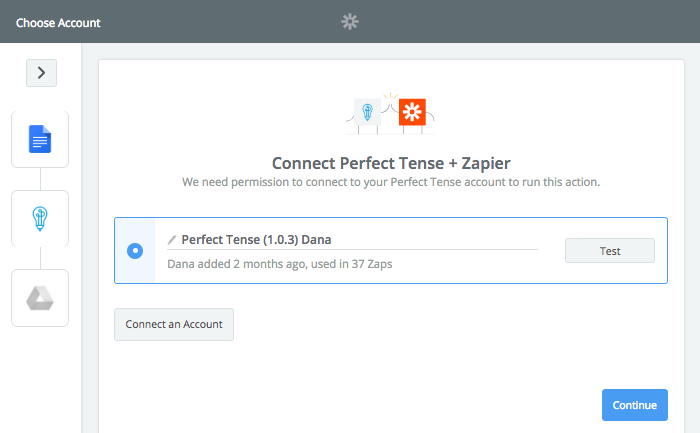
Step 3:
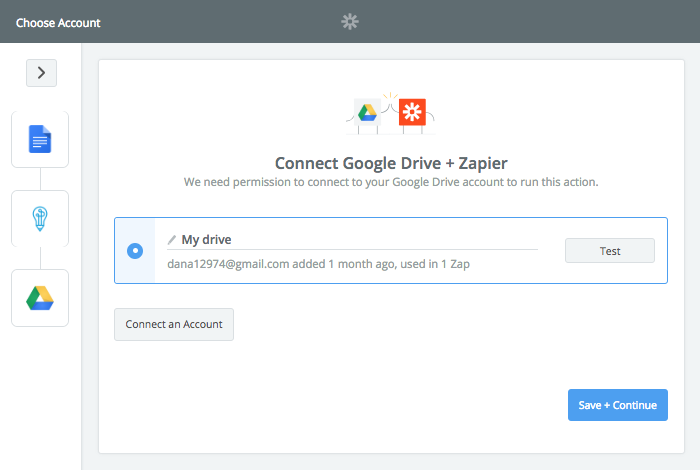
Because you are using a template, the Perfect Tense action will be preselected for you. All you need to do is connect your Perfect Tense account to Zapier.
Step 4:
Once you have connected your Perfect Tense account, you will need to choose the text that you want Perfect Tense to correct. We recommend choosing the file’s “Raw Plaintext Content” as it will be the cleanest way for Perfect Tense to correct your document.
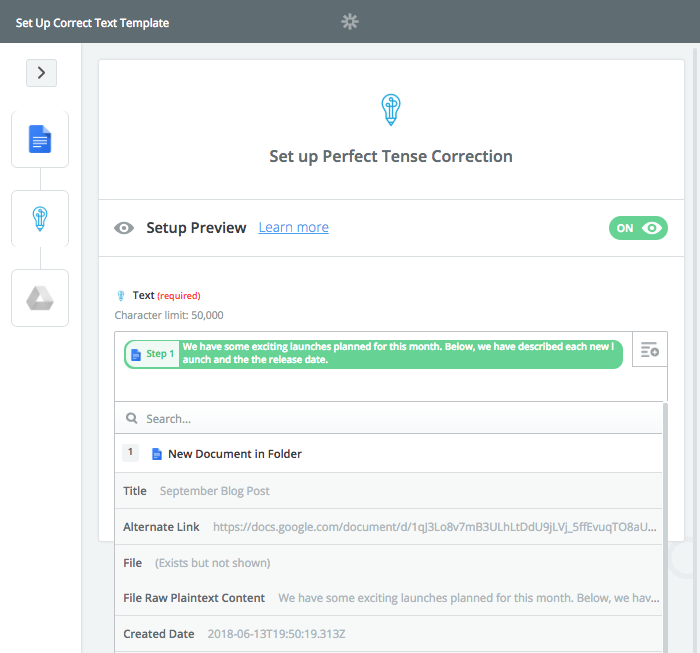
This will tell Zapier to send a sample correction to Perfect Tense. Once this test is complete, you are ready to set up the final step.
Step 5:
Again, the action step will be pre-selected for you. All you need to do is connect the drive account you would like to send corrected articles to.
Step 6:
Once you have connected the drive you want Zapier to use, the contents of your proofread documents will be pre-filled out. Optionally, you can add additional fields to the file name or content (like document owner or creation date etc).
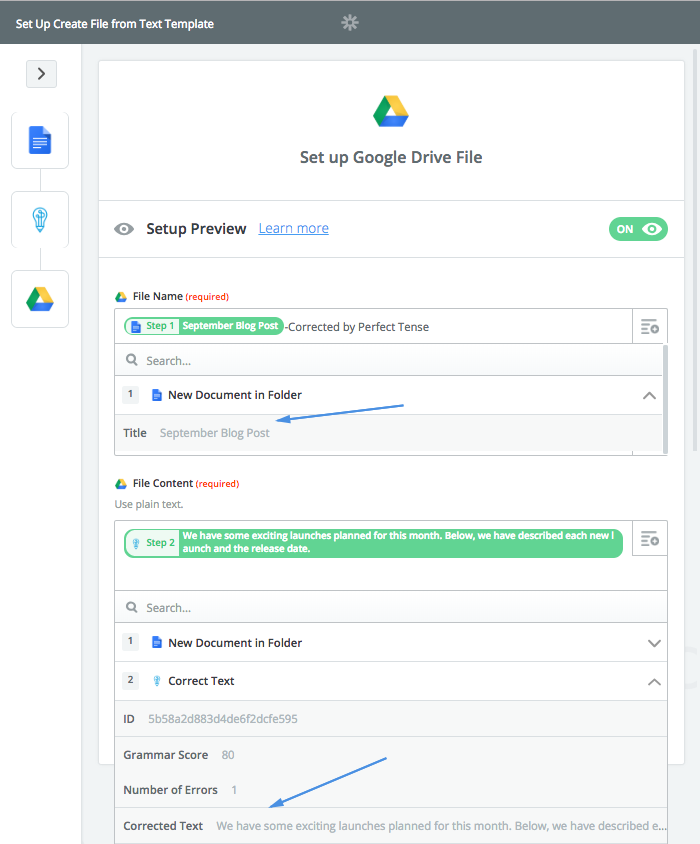
Once you have saved these settings, your integration should be all set up!
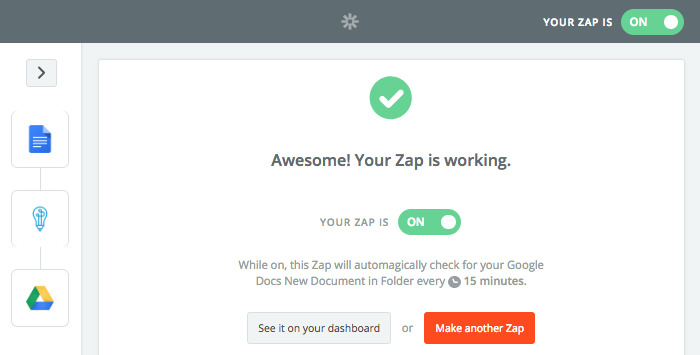
It’s that easy to have your Google Docs completely corrected with Zapier and Perfect Tense!
Now that your Zapier integration is set up, whenever you are ready for a final spelling and grammar check, all you have to do is move your document to the folder and in a matter of minutes, you will have a fully corrected document!